Mail Set Up for Android
We created this tutorial using a Google Pixel 2. The images and steps may not be identical to yours if you’re using a different Android device.
Select “Phone Settings”, then “Users & Account”
- Within “Users & Accounts”, select “Add account”
- Select “Personal(IMAP)”
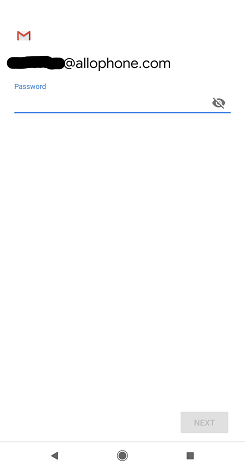
- Under “Enter your email” enter your allophone.com email address

- Select “MANUAL SETUP”
- Under “What type of account is this?” Select “Personal(IMAP)”

- Enter your password, and then select “Next”
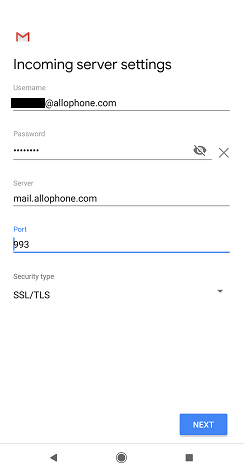
- When viewing the “Incoming Server Settings” screen:
- Sever: mail.allophone.com
- Security Type: SSL/TLS
- Select “NEXT”
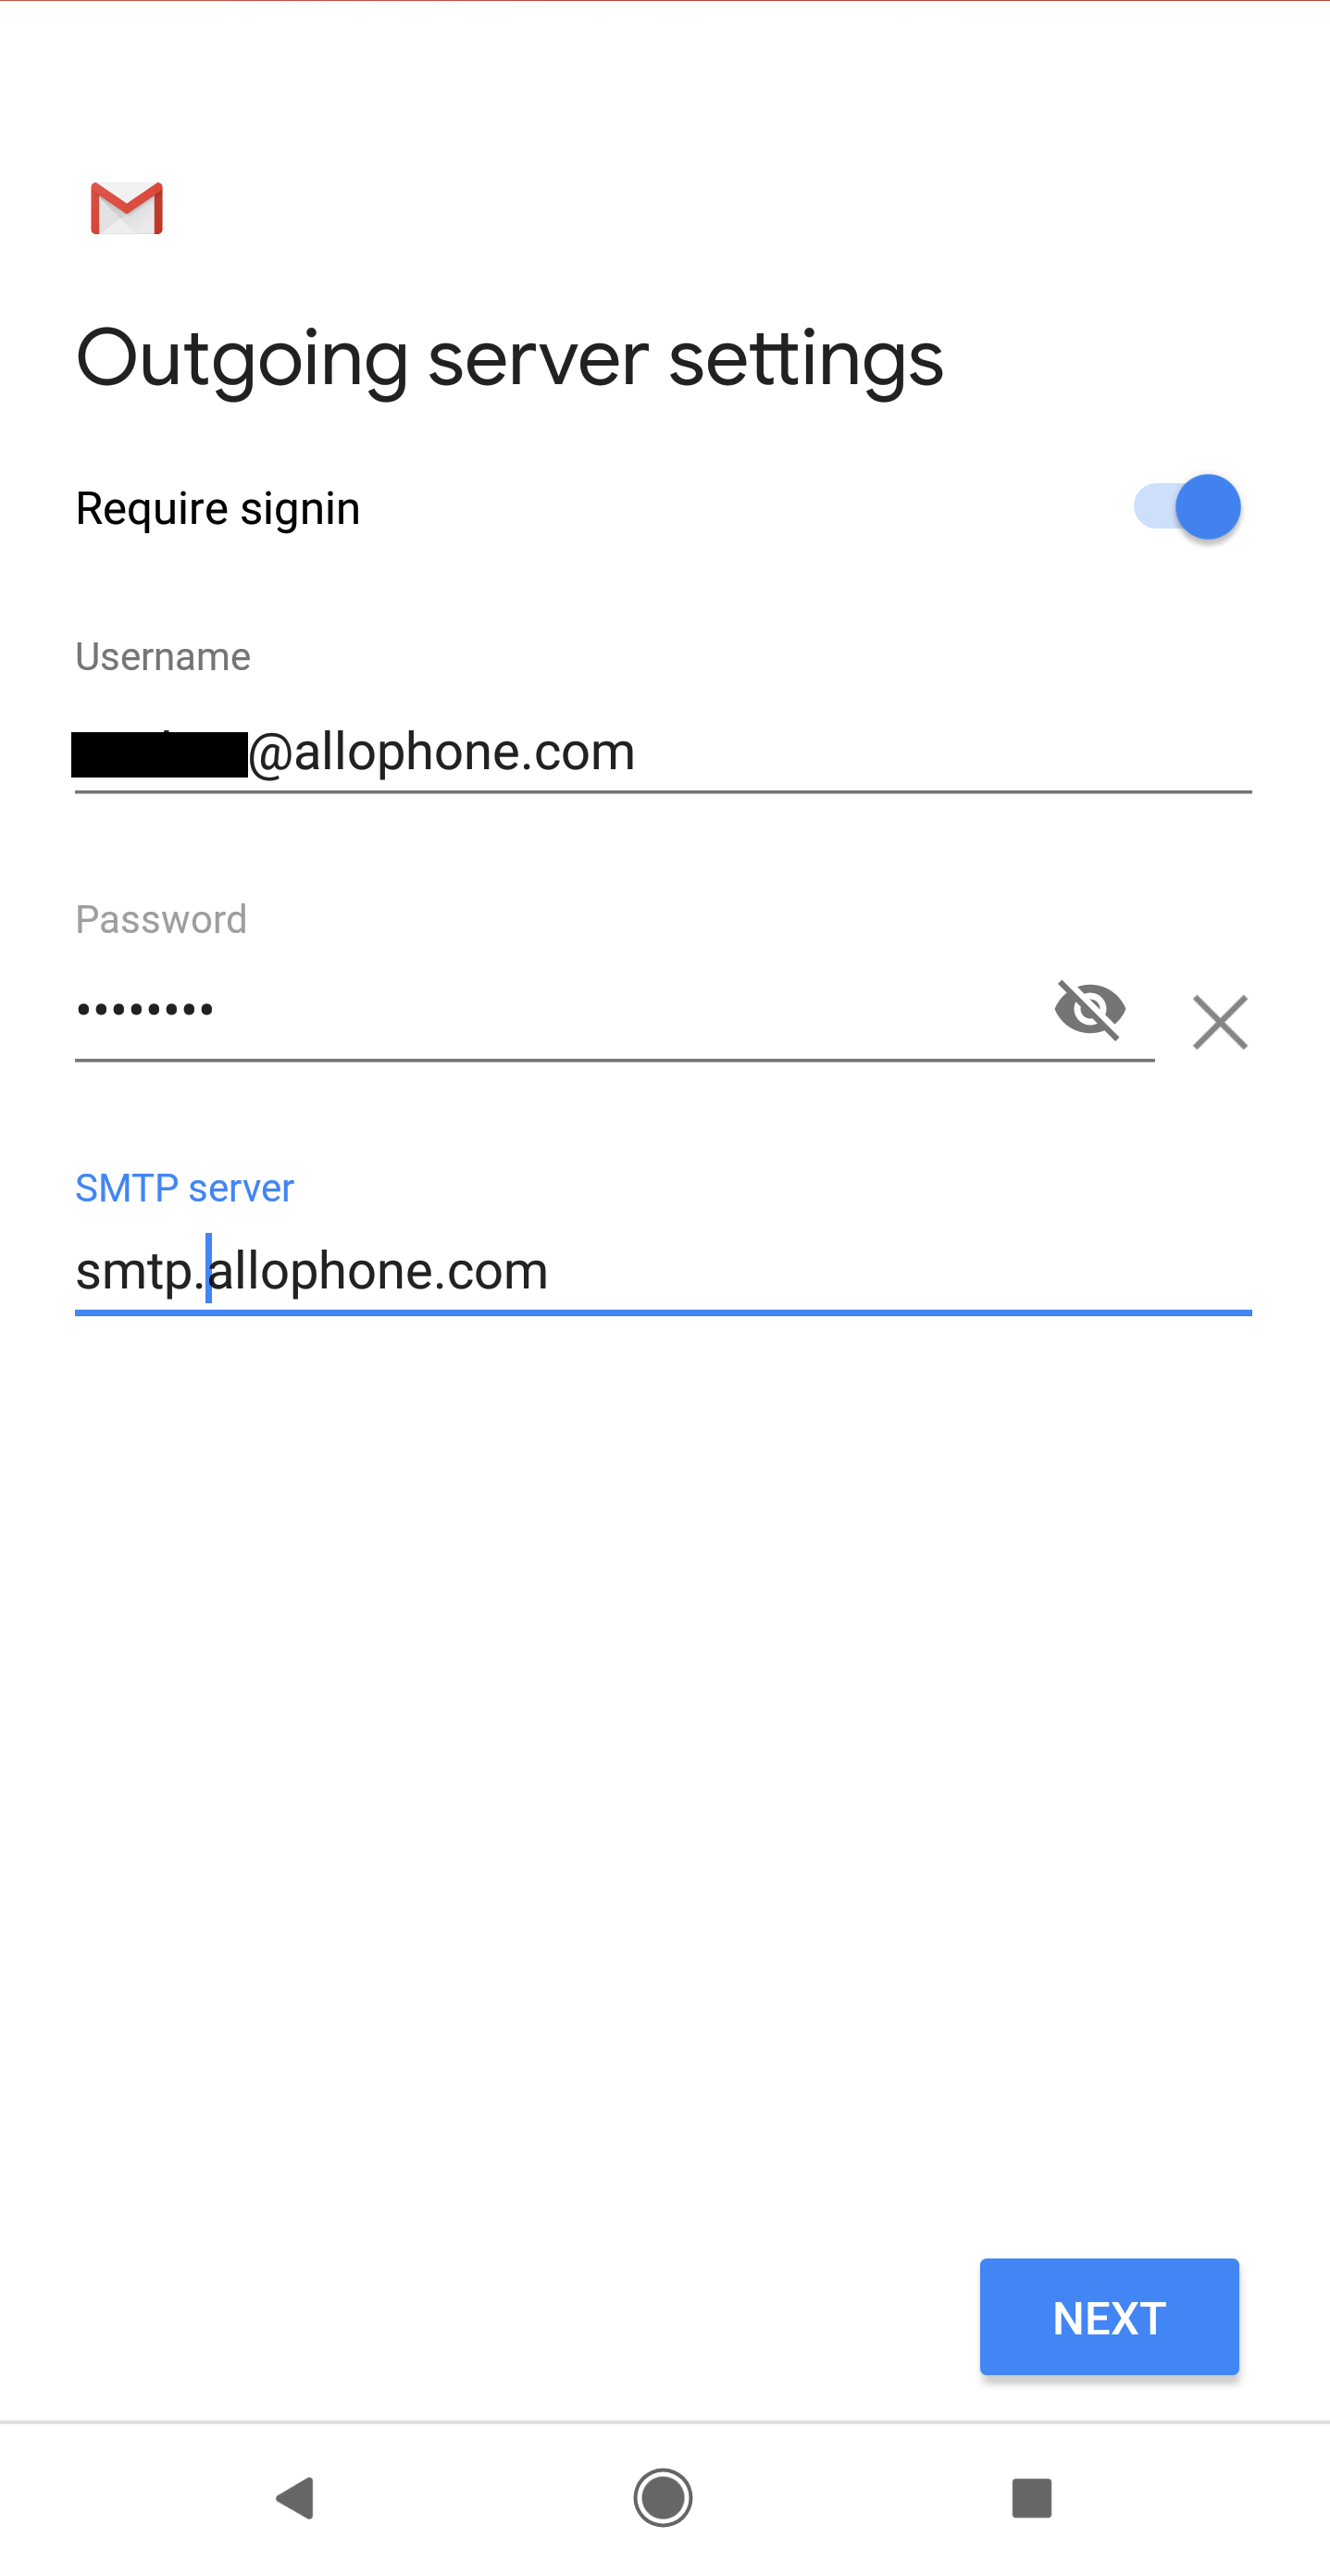
- When viewing the “Outgoing Server Settings” screen:
- SMTP server: smtp.allophone.com
- Select “NEXT”
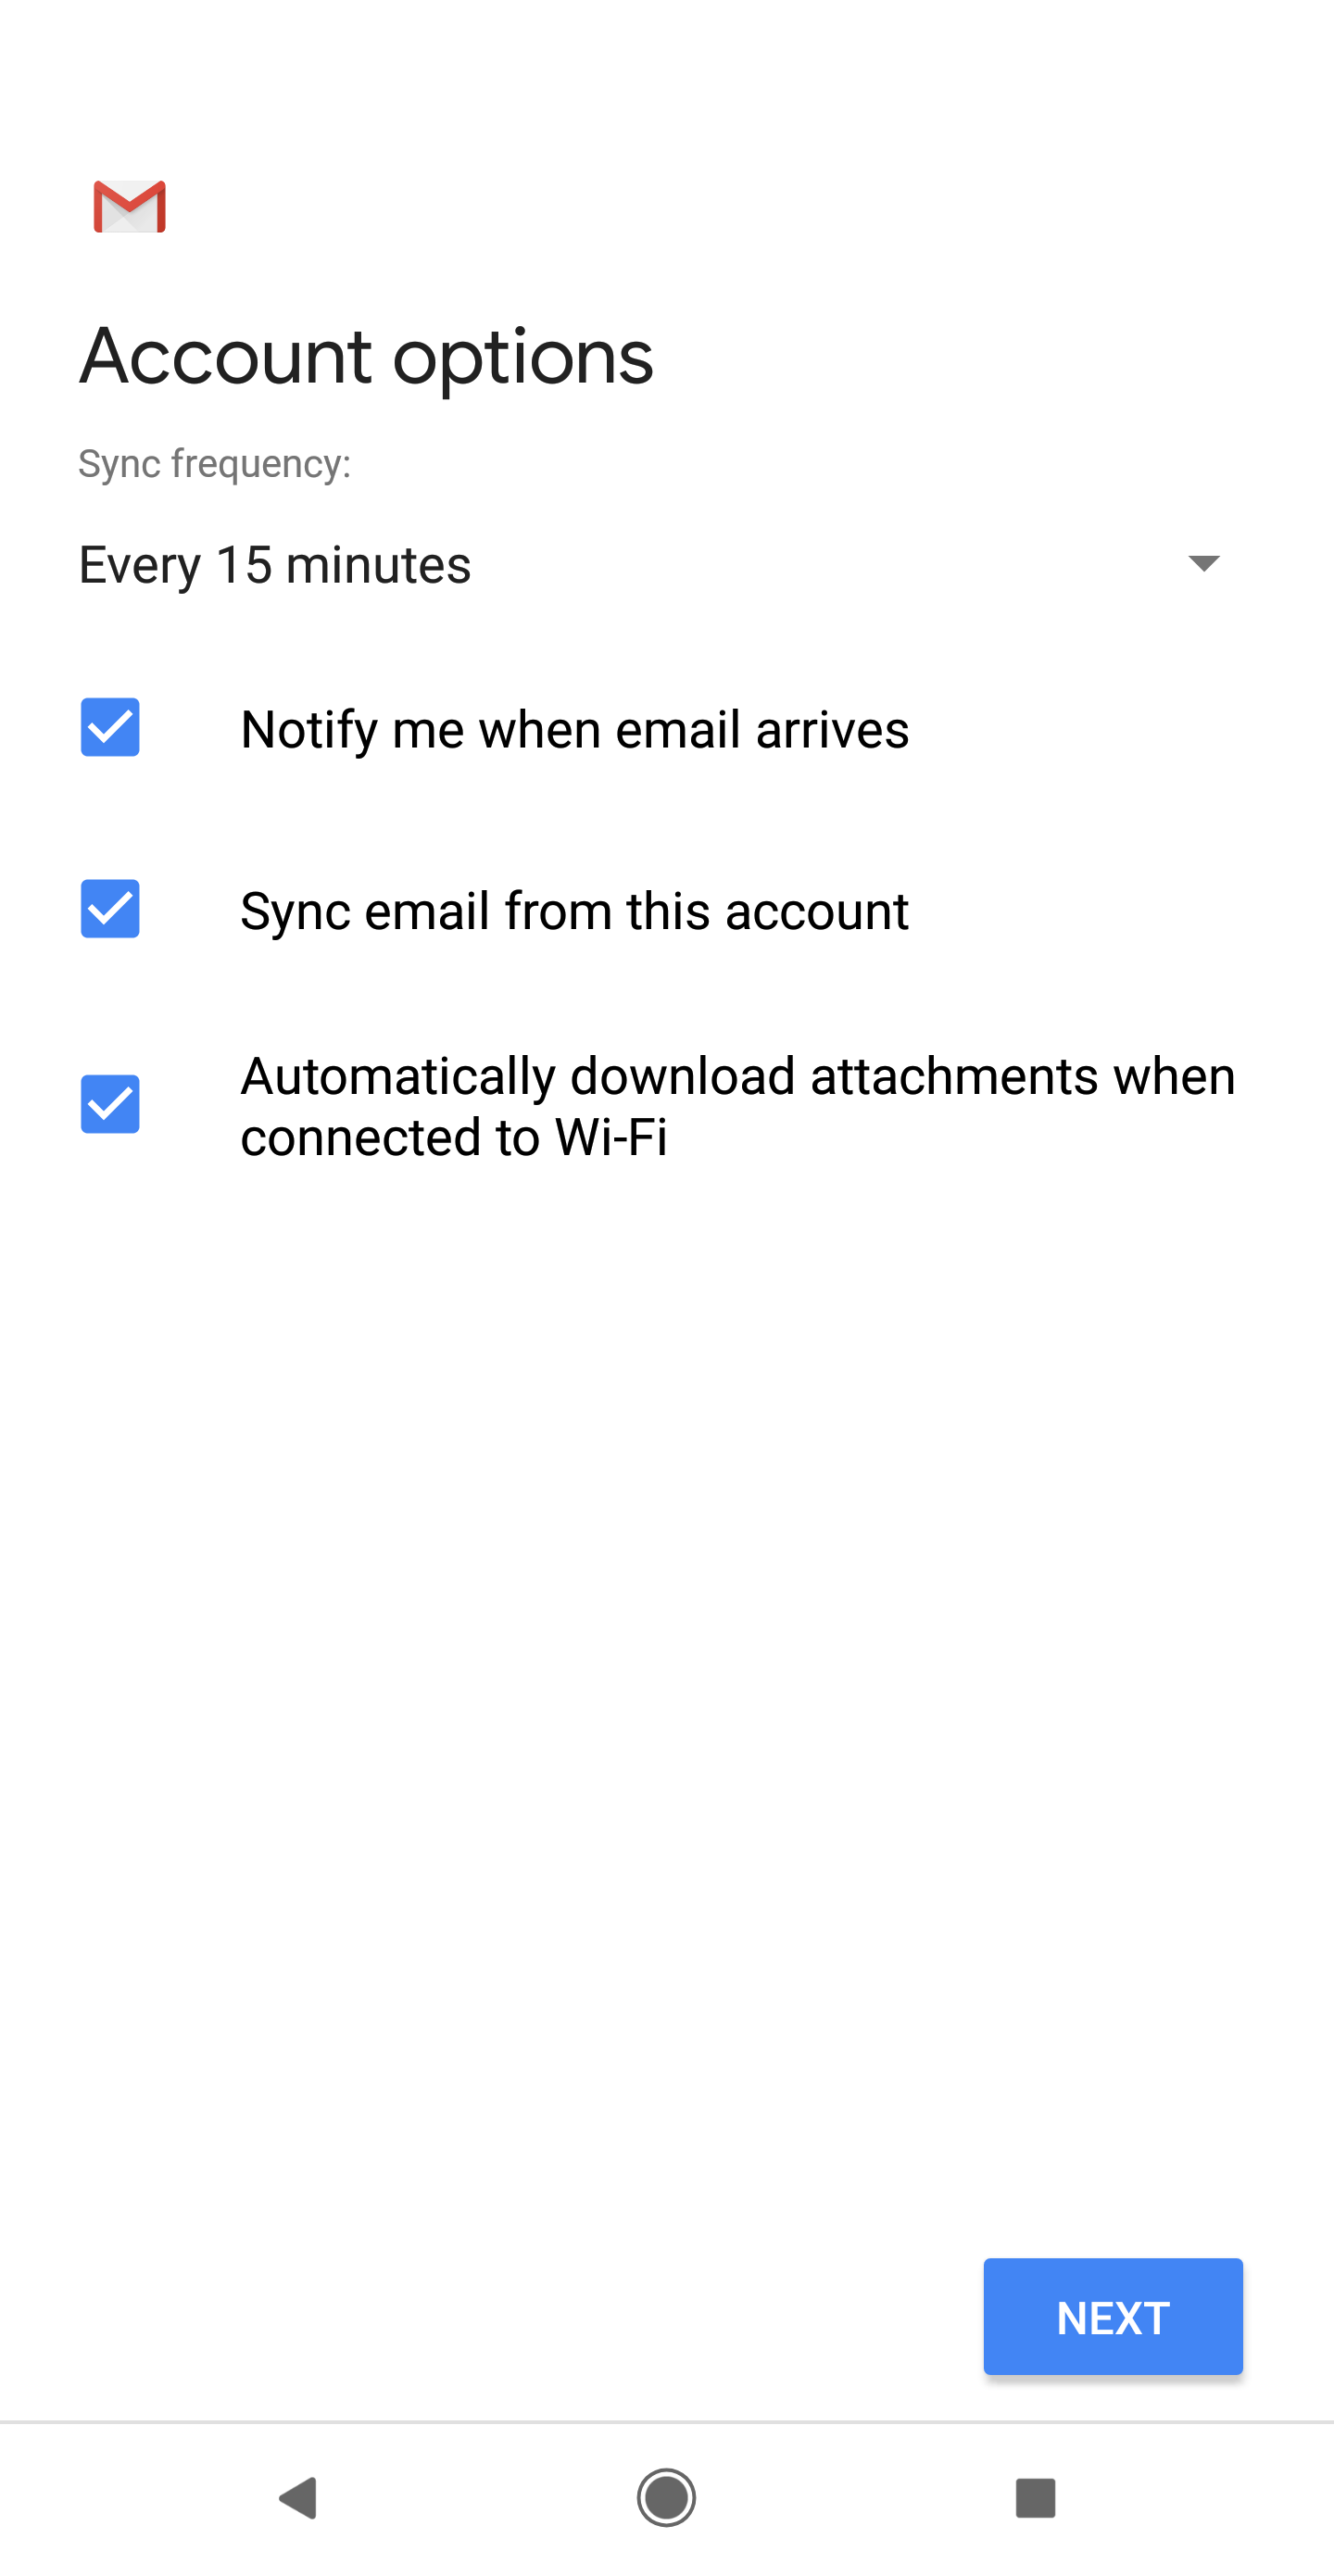
- If you’d like to change the name shown on your email, please select the “Your Name” field, and change your name accordingly.
- Select “NEXT”
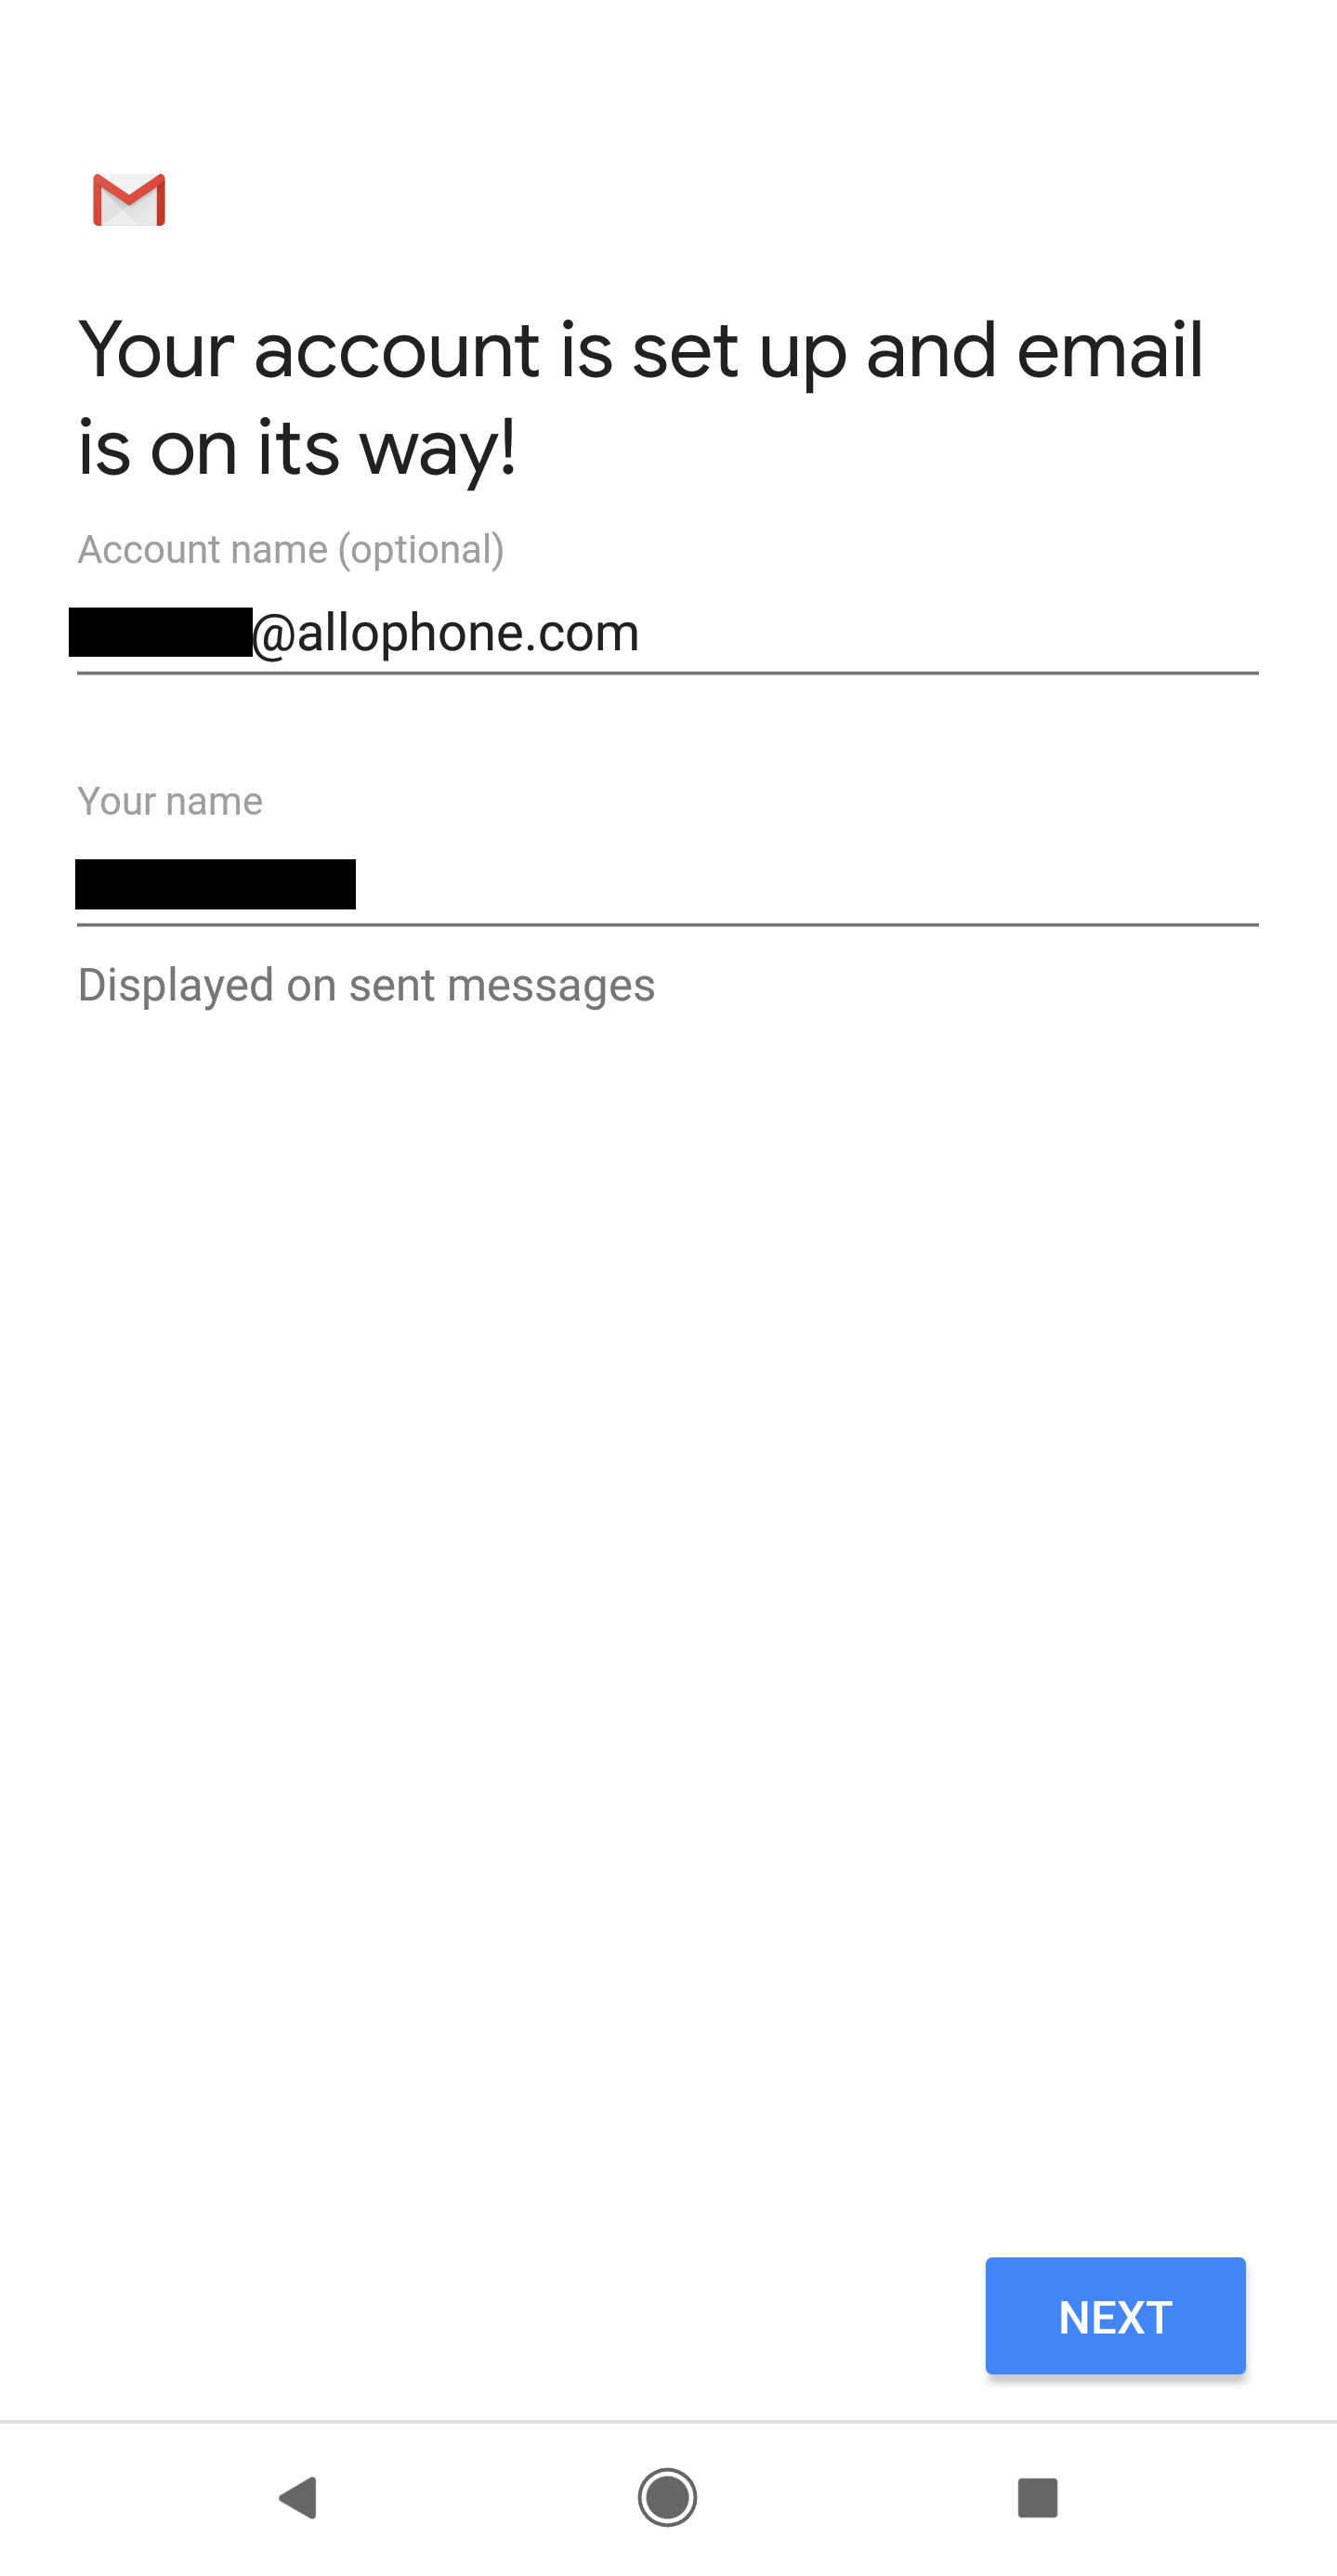
You should now have access to your allophone.com email account on your Android device. If you have any questions, please click the “Submit Ticket” button on the bottom left of your screen.